

First things first, we need to talk about the IBM reference diskette. You will need this diskette to boot and configure your IBM P75 successfully. Though if you are having trouble getting POST (meaning getting a full count of the RAM on the screen), I suggest you check out my post on Tips & Tricks, Restoration, CMOS Battery and getting POST.
The IBM P75, like other contemporary PS/2 computers of the period, utilizes a reference diskette to make changes to system settings, including the installed memory size, the assignment of the built-in connectors, and installed options with their location and assignments. You will need this floppy disk to boot your IBM P75 (or P70) if it has been unused for a while, and the CMOS battery has run flat. Once you have run the reference diskette software once, you won’t need to do so on subsequent boots unless you wish to make configuration changes to your system.
You can download a copy of my P75 Reference Diskette here– you need to write the image file (.imz) to a floppy disk (I use WinImage on my Windows 98 rig). Note: my version has already been updated with XGAOPT as discussed here and, my image has files to support the expansion cards on my IBM P75, namely a Sound Blaster Pro 2 MCV (CT5330) and IBM XGA-1 card. But don’t worry – if your P75 doesn’t have any cards or has these specific cards, you will be able to configure your computer with no problem.

If you have other Microchannel cards installed aside from the ones listed above in my configuration, you will need to create installation diskettes or copy the relevant ADF (and perhaps other files) onto the reference diskette. Search for your card, and you will find the ADFs usually on this site.
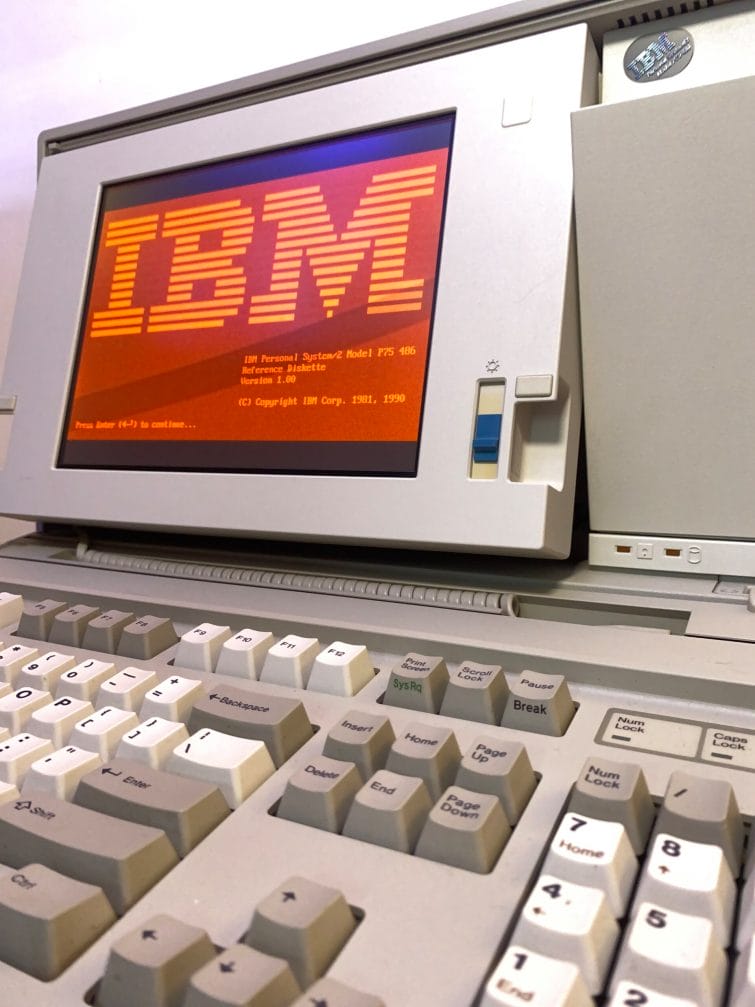
Once you have created a reference diskette, insert it into the floppy drive and power on – with luck, your P75 should slowly read the floppy disk (The P75’s floppy disk drive will make very slow reads at first – don’t be alarmed, this is normal), and then you should see this amazing screen:
FIRST THING – make a backup of your ref disk! There were complaints of “refdisks” going bad back in the day, and now some 30 years later, floppy disk problems are much more common. I have 3 copies of my ref disk at any one time, and I really have had 2 of them crap out on me one after another!

System settings are stored in CMOS, and data integrity is maintained through an internal non-rechargeable 6V battery. Should the internal 6V battery run low, the computer may not POST successfully as the internal CMOS contents are corrupted. The reference diskette also includes basic diagnostic software (mine seems to indicate problems with my system “planar,” though the computer remains perfectly useable).
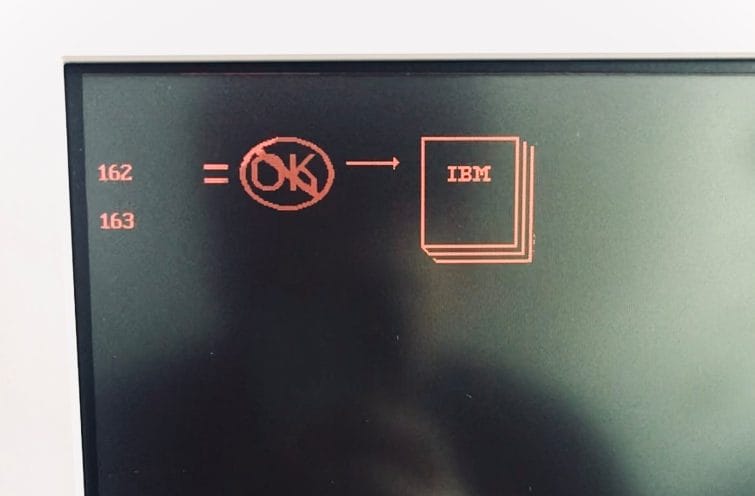
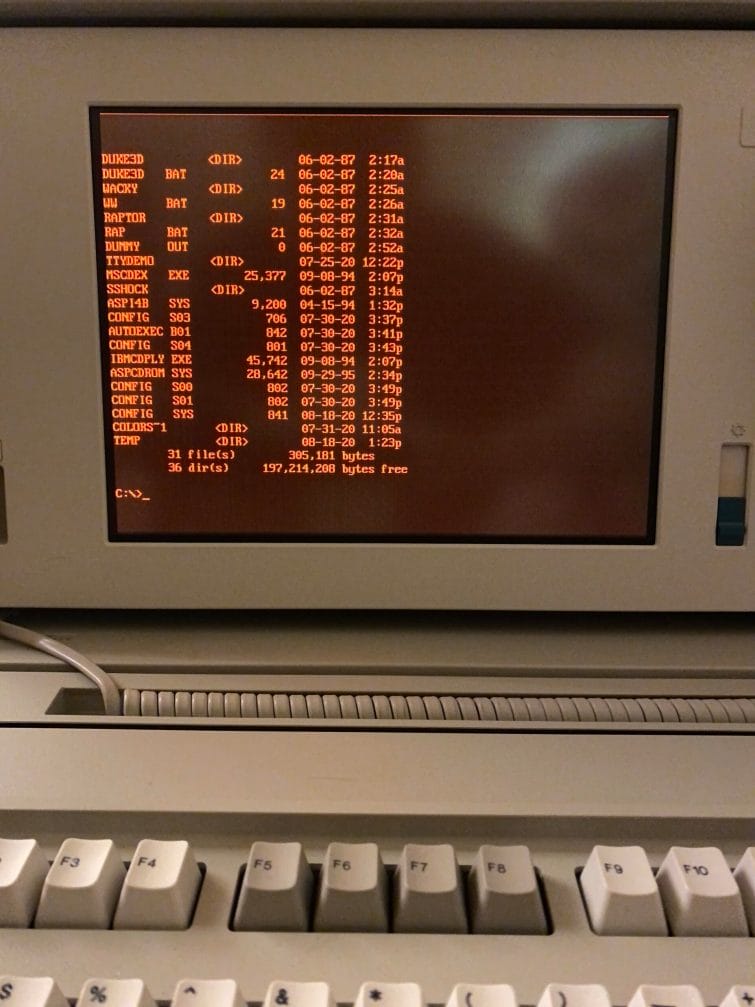
Note, if you try to boot your P70 or P75 without an operating system and/or hard disk, the P75 will drop the user into IBM Cassette Basic. Certain other configuration errors arising from corrupted saved configurations and the like can sometimes also result in being dropped into Cassette Basic.

Anyhow, once you have booted your reference diskette and see the delightfully large IBM logo, hit enter, then select “Run Automatic Configuration” – this will automatically detect what Microchannel cards you have installed (if any) and decide on their settings for you.
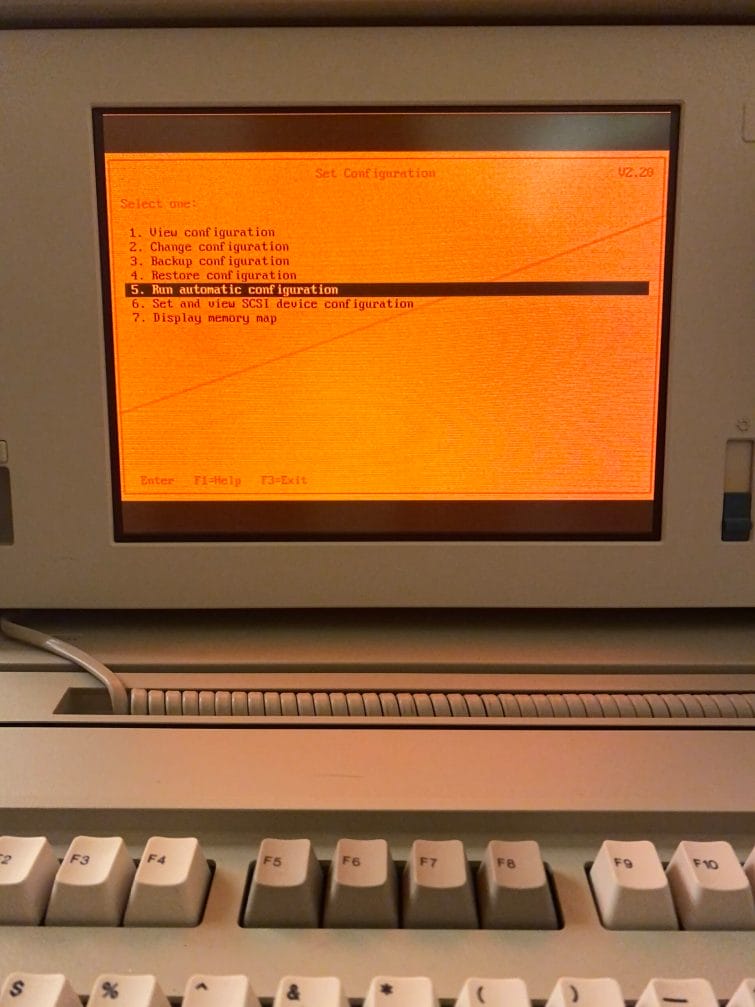
Though, if you are familiar with setting up a 90’s computer, you will be pleased to see that you can get quite granular with all the settings. I won’t go into that level of detail here, however. To access these settings, select “Change configuration” instead of “Run automatic configuration.” Other menu options, such as the memory allocation map (Display memory map), can help diagnose any booting up errors. The other options are pretty standard, such as setting SCSI devices and changing the time. One interesting thing to note – you can actually set the P75 to act as a remote server through the reference diskette. I can only imagine what the circumstances must have been for a person or organization to require a portable server!

Anyway, once the automatic configuration is complete, the reference diskette will ask you to reset. Then you should be able to install MS-DOS or another period-appropriate operating system you wish by inserting the boot floppy for your installation.
When it comes to running software, the IBM P75 is a fully-fledged 486 based machine and can (obviously) run all MSDOS & Windows software of the period.
The one unique item is the gas plasma display – the internal gas plasma display of the IBM P75 is XGA/VGA, EGA, MCGA, CGA compatible and operates at a maximum 640×480 in 16 shades of grey in VGA mode. Meaning, you can play pretty much all DOS games from the 80s through to the early 90s. The IBM P75 can drive its internal monitor and an external monitor simultaneously. When driving the external monitor only, it can operate at 800×600 resolution in 16-bit (high-color) in Windows 95 using third-party drivers. Note, the VGA monitor is NOT VESA compatible, so it won’t run software (games) that require this.

The advanced hardware on the P75 (advanced for 1990) means that it can run OS/2, MS-DOS, Windows 3 / 3.11, and even Windows 95. Here’s a selection of my favorite games running on the internal gas plasma display (all in VGA), but of course, limited to 16 shades of “grey.” Some games like Wacky Wheels look great, while others, especially Windows 95 games, are tolerable but are probably more fun in their original color palettes.
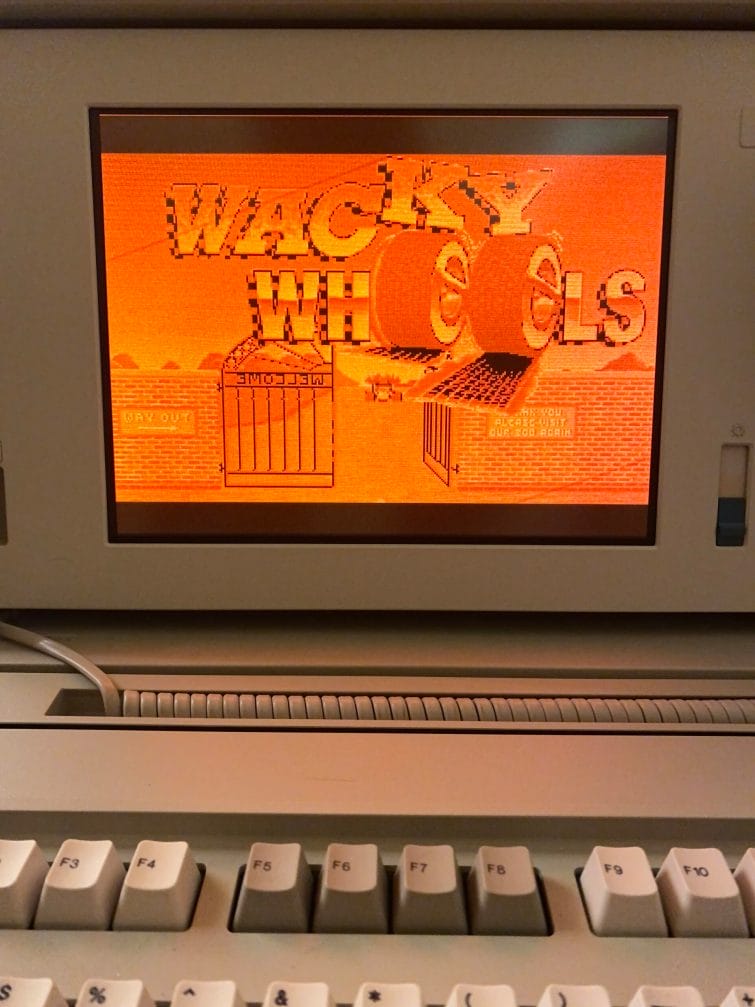
Wacky Wheels 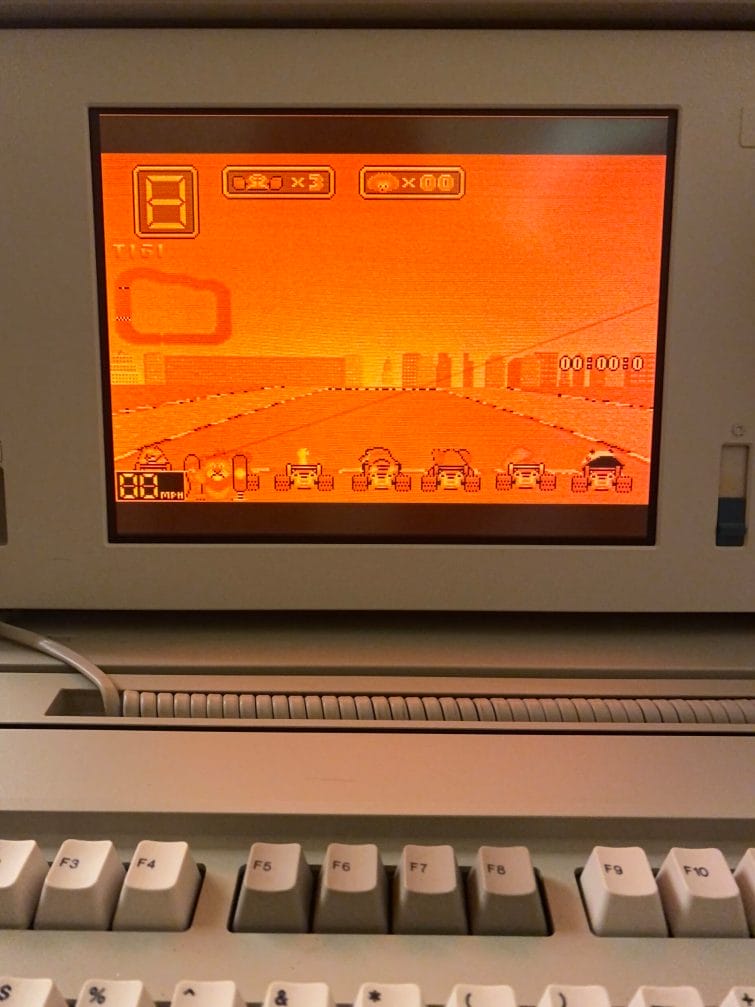
Wacky Wheels 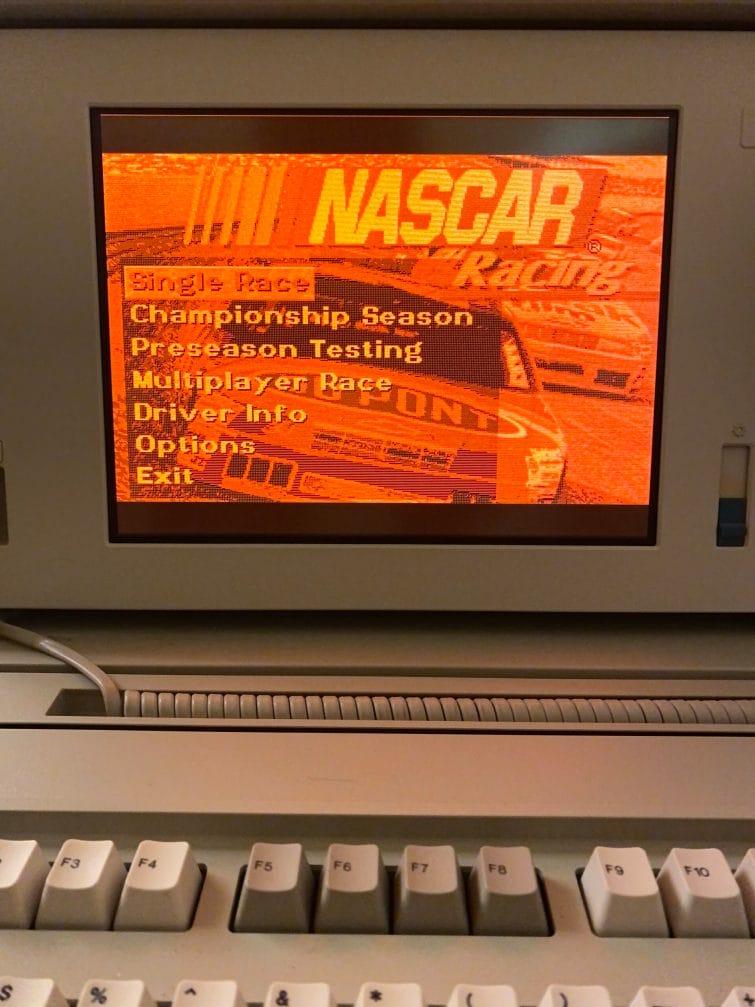
Nascar 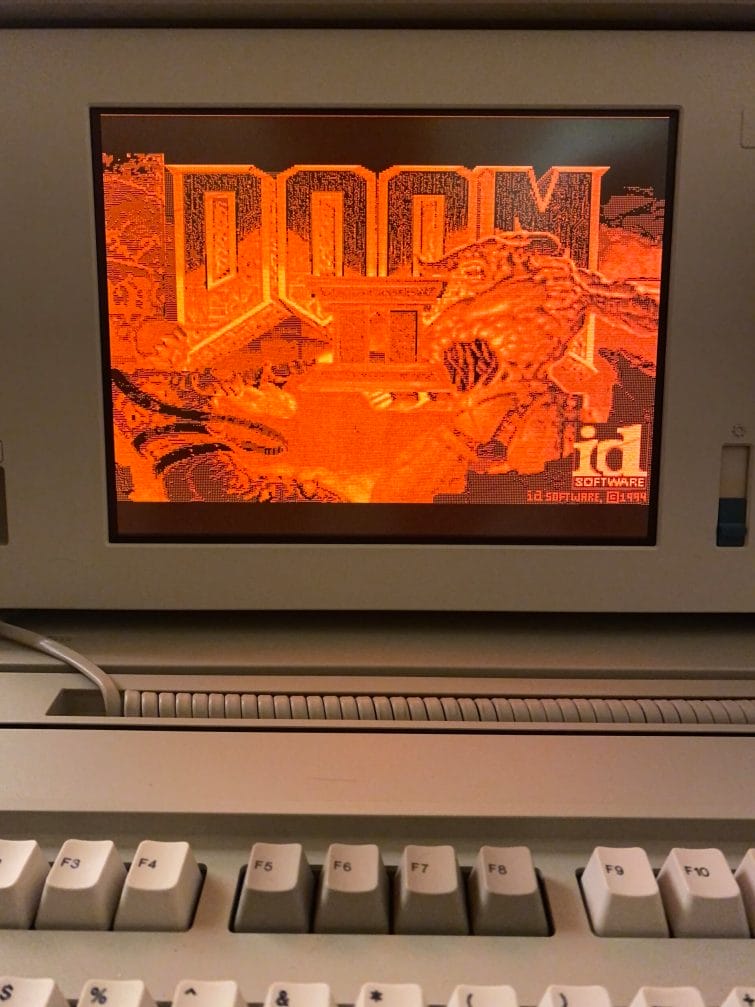
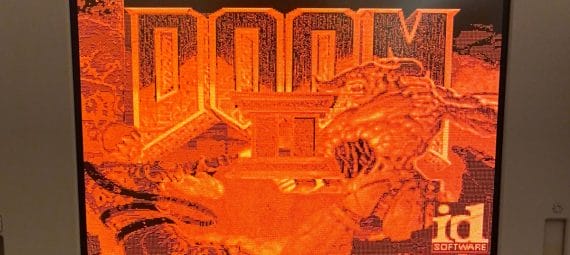
Doom 2 
Doom 2 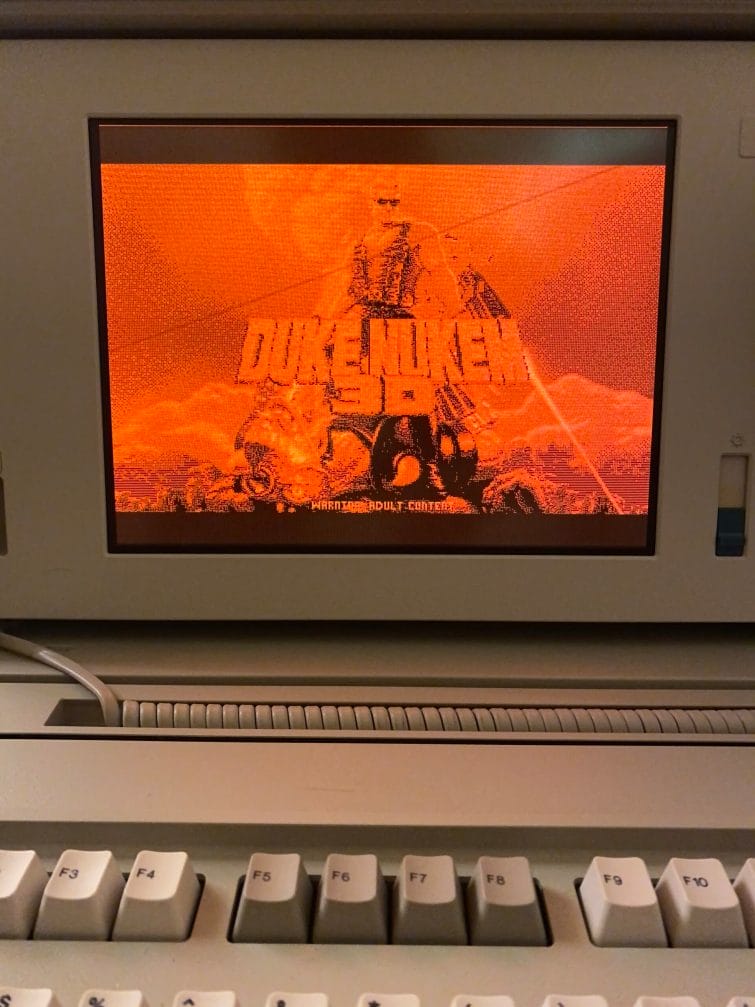
Duke Nukem 3D
Here’s a selection of screenshots in Windows 95:
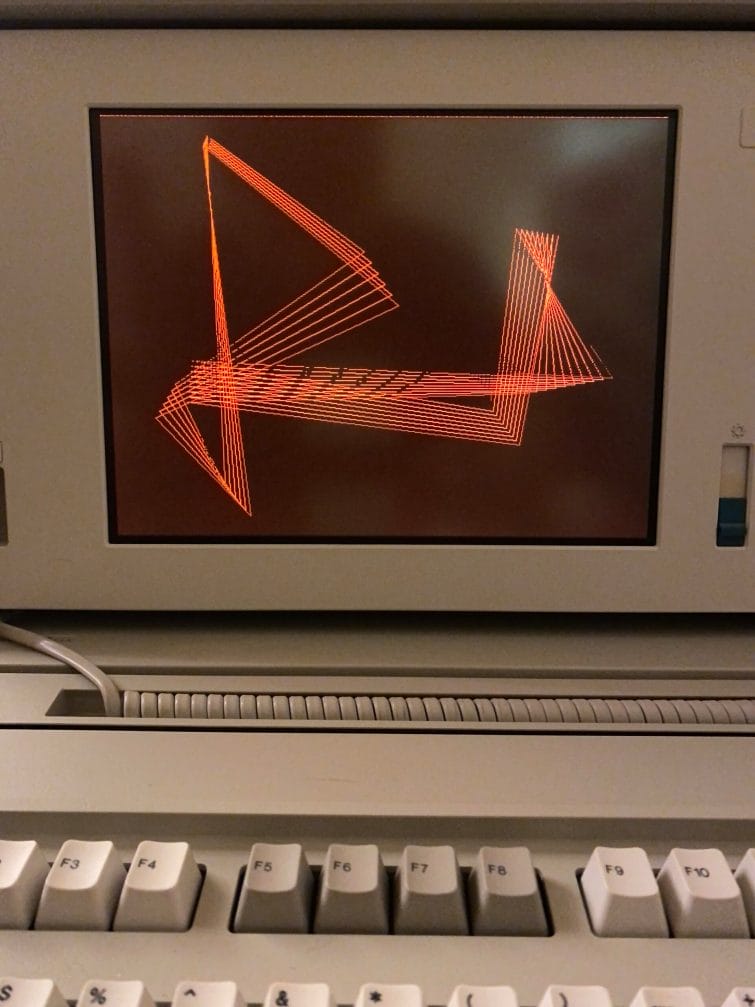
Mystify Your Mind! 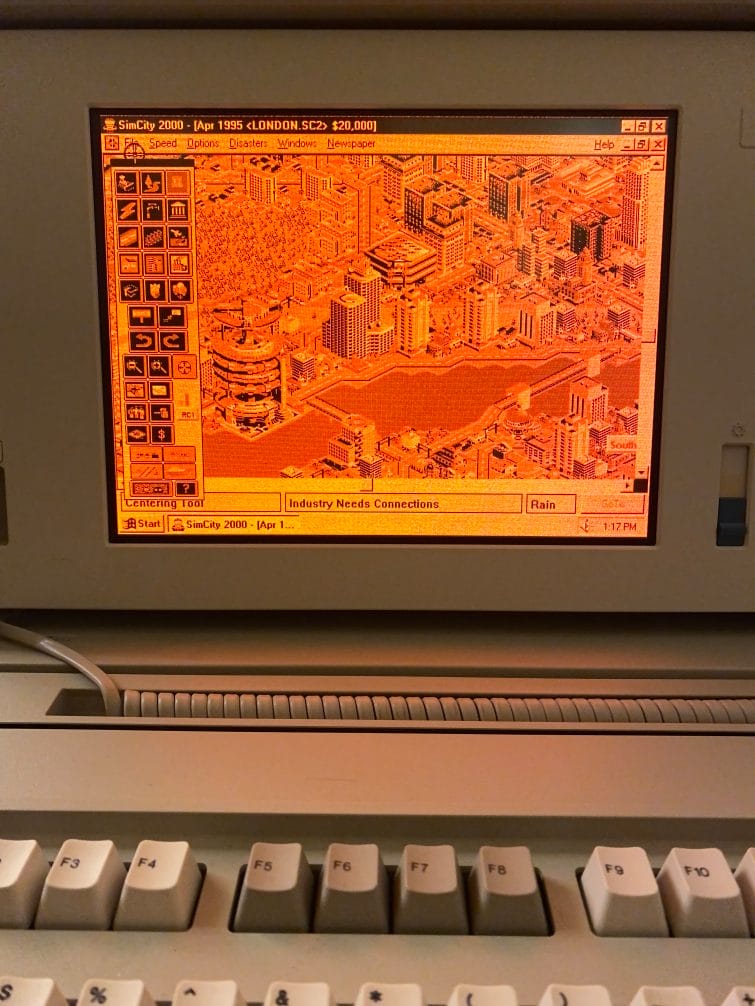
SimCity 2000 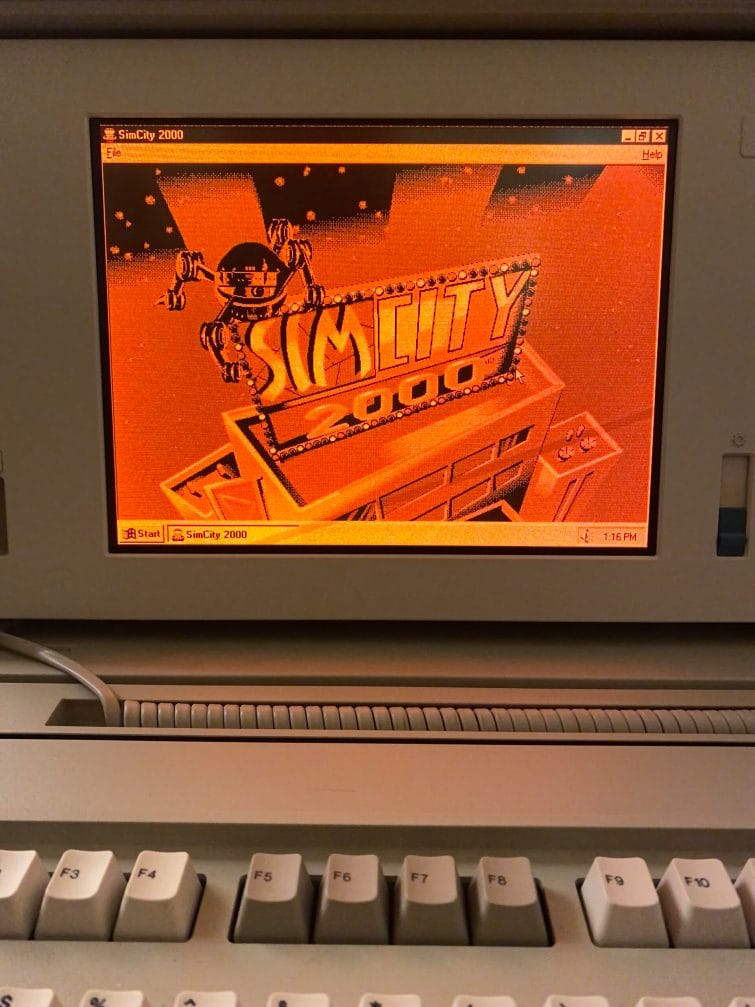
SimCity 2000 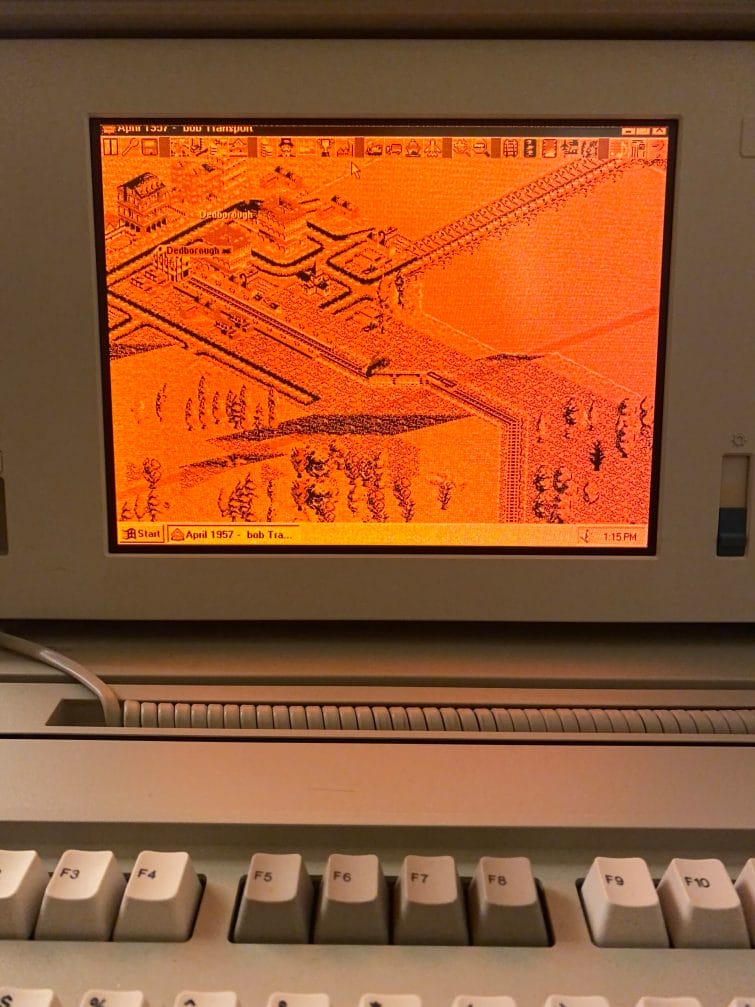
Transport Tycoon Deluxe 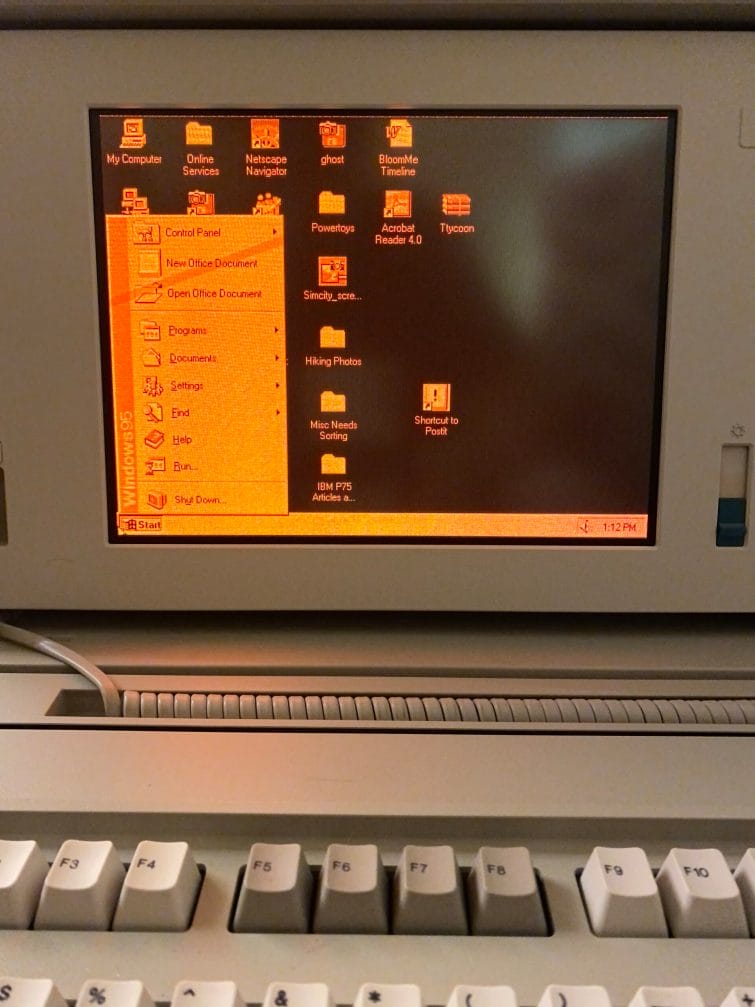
Windows 95 Start Bar
And that’s it! I hope you enjoyed taking a look at my IBM P75. For those of you who have one of these amazing machines and want more details, I suggest that you take a look at IBM’s P75 Quick Reference Guide – there’s lots of detailed stuff in there that I haven’t covered in this post.
Take a Closer Look at the IBM P75:
- The Most Powerful Portable – IBM P75
- Take a Look Around (The Outside)
- But wait, there’s more – Under the Hood (Interior)
- Tips & Tricks (Restoration: CMOS Battery, Getting POST)
- Booting Up & Configuring the IBM P75